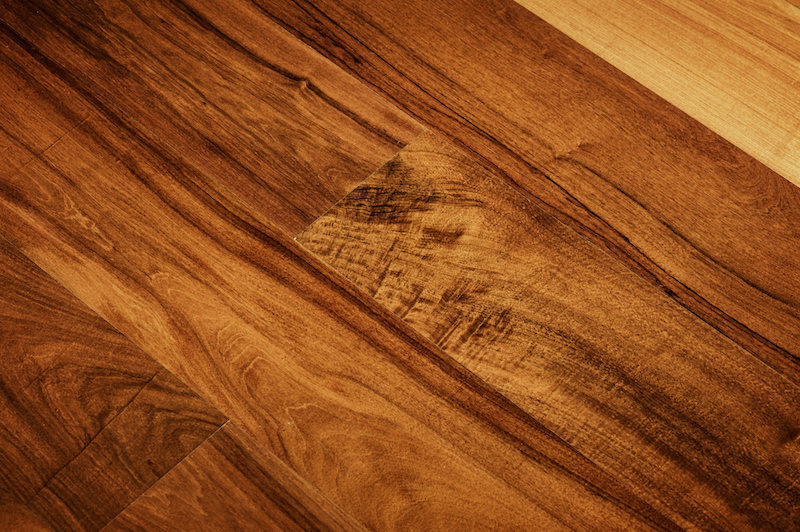
Hardwood floors – they’re classic, aesthetically beautiful, and unbelievably long lasting. But the key to keeping authentic timber flooring looking (and functioning) properly isn’t the type of planks you choose or which room it’s installed in – it comes down to how well maintained the flooring is throughout the course of its life.

Because cleaning your hardwood floor regularly is the most important way to make it last for decades, use this ultimate guide to cleaning hardwood floors.
Keep your Hardwood Floors Dry
Water is the arch nemesis of hardwood floors. Even the smallest dots of standing water can cause a hardwood floor to warp, rot, or stain. The moment you install your authentic (or engineered) wood floors, your new duty is to keep the planks dry from all types of moisture. Use rugs and mats in moisture-rich areas (like kitchens and bathrooms) to defend your floor from accidental spills. When the time comes to mop, swap out your standard mop for a microfiber alternative, and use as little water as possible.
Avoid Harmful Cleaners and Abrasive Sponges
Unlike vinyl and laminate, there are certain household cleaners that can severely damage your hardwood floor’s finish and colour. Abrasive cleaners, harsh chemicals, and steam cleaners should be avoided at all costs because they have the potential to scratch the floor’s finish. Depending on the type of protective coating on your floor, it may be best to avoid vinegar and water solutions as well.
Sweep Daily
When you have vinyl or laminate floors, sweeping every other day won’t pose a threat to your floor’s appearance. With hardwood planks, however, leaving bits of dirt and debris sitting along your floor can contribute heavily to scratches over the years. Hardwood planks are coated with protective finishes, which absorb the scratches and blemishes that would otherwise damage the hardwood planks themselves. Sweeping your floors daily (especially after cooking or entertaining) prevents small pieces of dirt and dust from leaving scratches along your hardwood floor.
Ditch the Vacuum
We get it – vacuuming is an easy way to suck up dirt and dust that would otherwise need to be swept. But (most) vacuums are designed for carpeting, not hardwood planks. Many vacuums use a “beater bar,” (a revolving attachment found underneath the machine that rotates and hits the carpet to encourage any sitting dust to loosen) which can damage hardwood floors with its rotating bristles.
If you must use a vacuum to clean your new hardwood planks, pick a machine that doesn’t use a beater bar.
Noticing Scratches and Blemishes? It’s Time to Refinish Your Floors
Even when you care for your hardwood floor meticulously, there will still be accidents that cause your hardwood to sustain a few scratches. Pet nails, hard-soled shoes, and indoor games with the kids are all potential activities that may leave your hardwood planks looking less than brand new. Even the most careful households must refinish their floors every ten years or so, depending on the type of finish used to seal the planks originally.
Thankfully, renewing your hardwood floor is a simple matter of hiring a professional flooring expert or taking a weekend to spend on a DIY project. If hiring a professional team is more your style, simply look up the most reputable flooring contractor in your area and request a quote for sanding and refinishing your hardwood floor. Families who would prefer to take on the project themselves can do so without pulling a permit. Simply study a few online resources discussing the best way to take on a DIY refinishing project, and head to the local hardware store to pick up the materials you’ll need to get the job done properly.
